A customer walks in saying their car shakes on acceleration or there’s a weird knocking noise when they turn. You’ve heard it before. But how do you make sure it’s the drive shaft? If you guess wrong, you might lose trust—and worse, a sale. This article shows you a clear way to check a drive shaft step by step, so you can find the problem faster and give your customers better, more reliable service.
To inspect a drive shaft, perform a visual examination for cracks, rust, or damage; manually test the U-joints and CV boots for play or leaks; and conduct a test drive to listen for unusual sounds or vibrations. Ensure the car is safely lifted before any hands-on inspection.
When Should You Check the Drive Shaft?

Let’s keep this part short and clear.
You should check the drive shaft if:
- The customer reports that the car vibrates, clicks, or shudders when in motion.
- There are noises when turning or accelerating.
- The car had underbody damage or an accident.
- It’s an older vehicle or used car you’re inspecting.
- The car was recently in the shop for transmission, differential, or suspension work.
That’s enough to raise a flag. Once you suspect a problem, move on to the actual inspection.
How to Check Drive Shaft (Step-by-Step)

Here’s a clear 5-step process for checking a drive shaft. Each step builds on the one before it, so you can go from “not sure what’s wrong” to “I know exactly what the issue is.”
Step 1: Prepare the Car and Your Tools
Before anything else, make sure you’re working safely. It might sound basic, but skipping this step is one of the top mistakes people make, especially when they’re in a hurry.
- First, park the vehicle on flat ground.
- Pull the handbrake and turn off the ignition completely.
- If you’re not using a lift, make sure to place heavy-duty jack stands under the car. Don’t rely on the jack alone—it’s not worth the risk.
- Check that the drive wheels are lifted off the ground, so you can freely rotate the shaft later.
- Put on work gloves and safety glasses—not just for safety, but so you’re not hesitating to get your hands in where they need to be.
Also, prepare your tools. You’ll need a flashlight, a mirror for tight spots, a pry bar or screwdriver for testing play, and maybe an angle finder if you’re working on lifted or modified vehicles. This step is like setting the table before you cook. It’s not flashy, but it makes the rest smoother.
Step 2: Look for Damage or Leaks
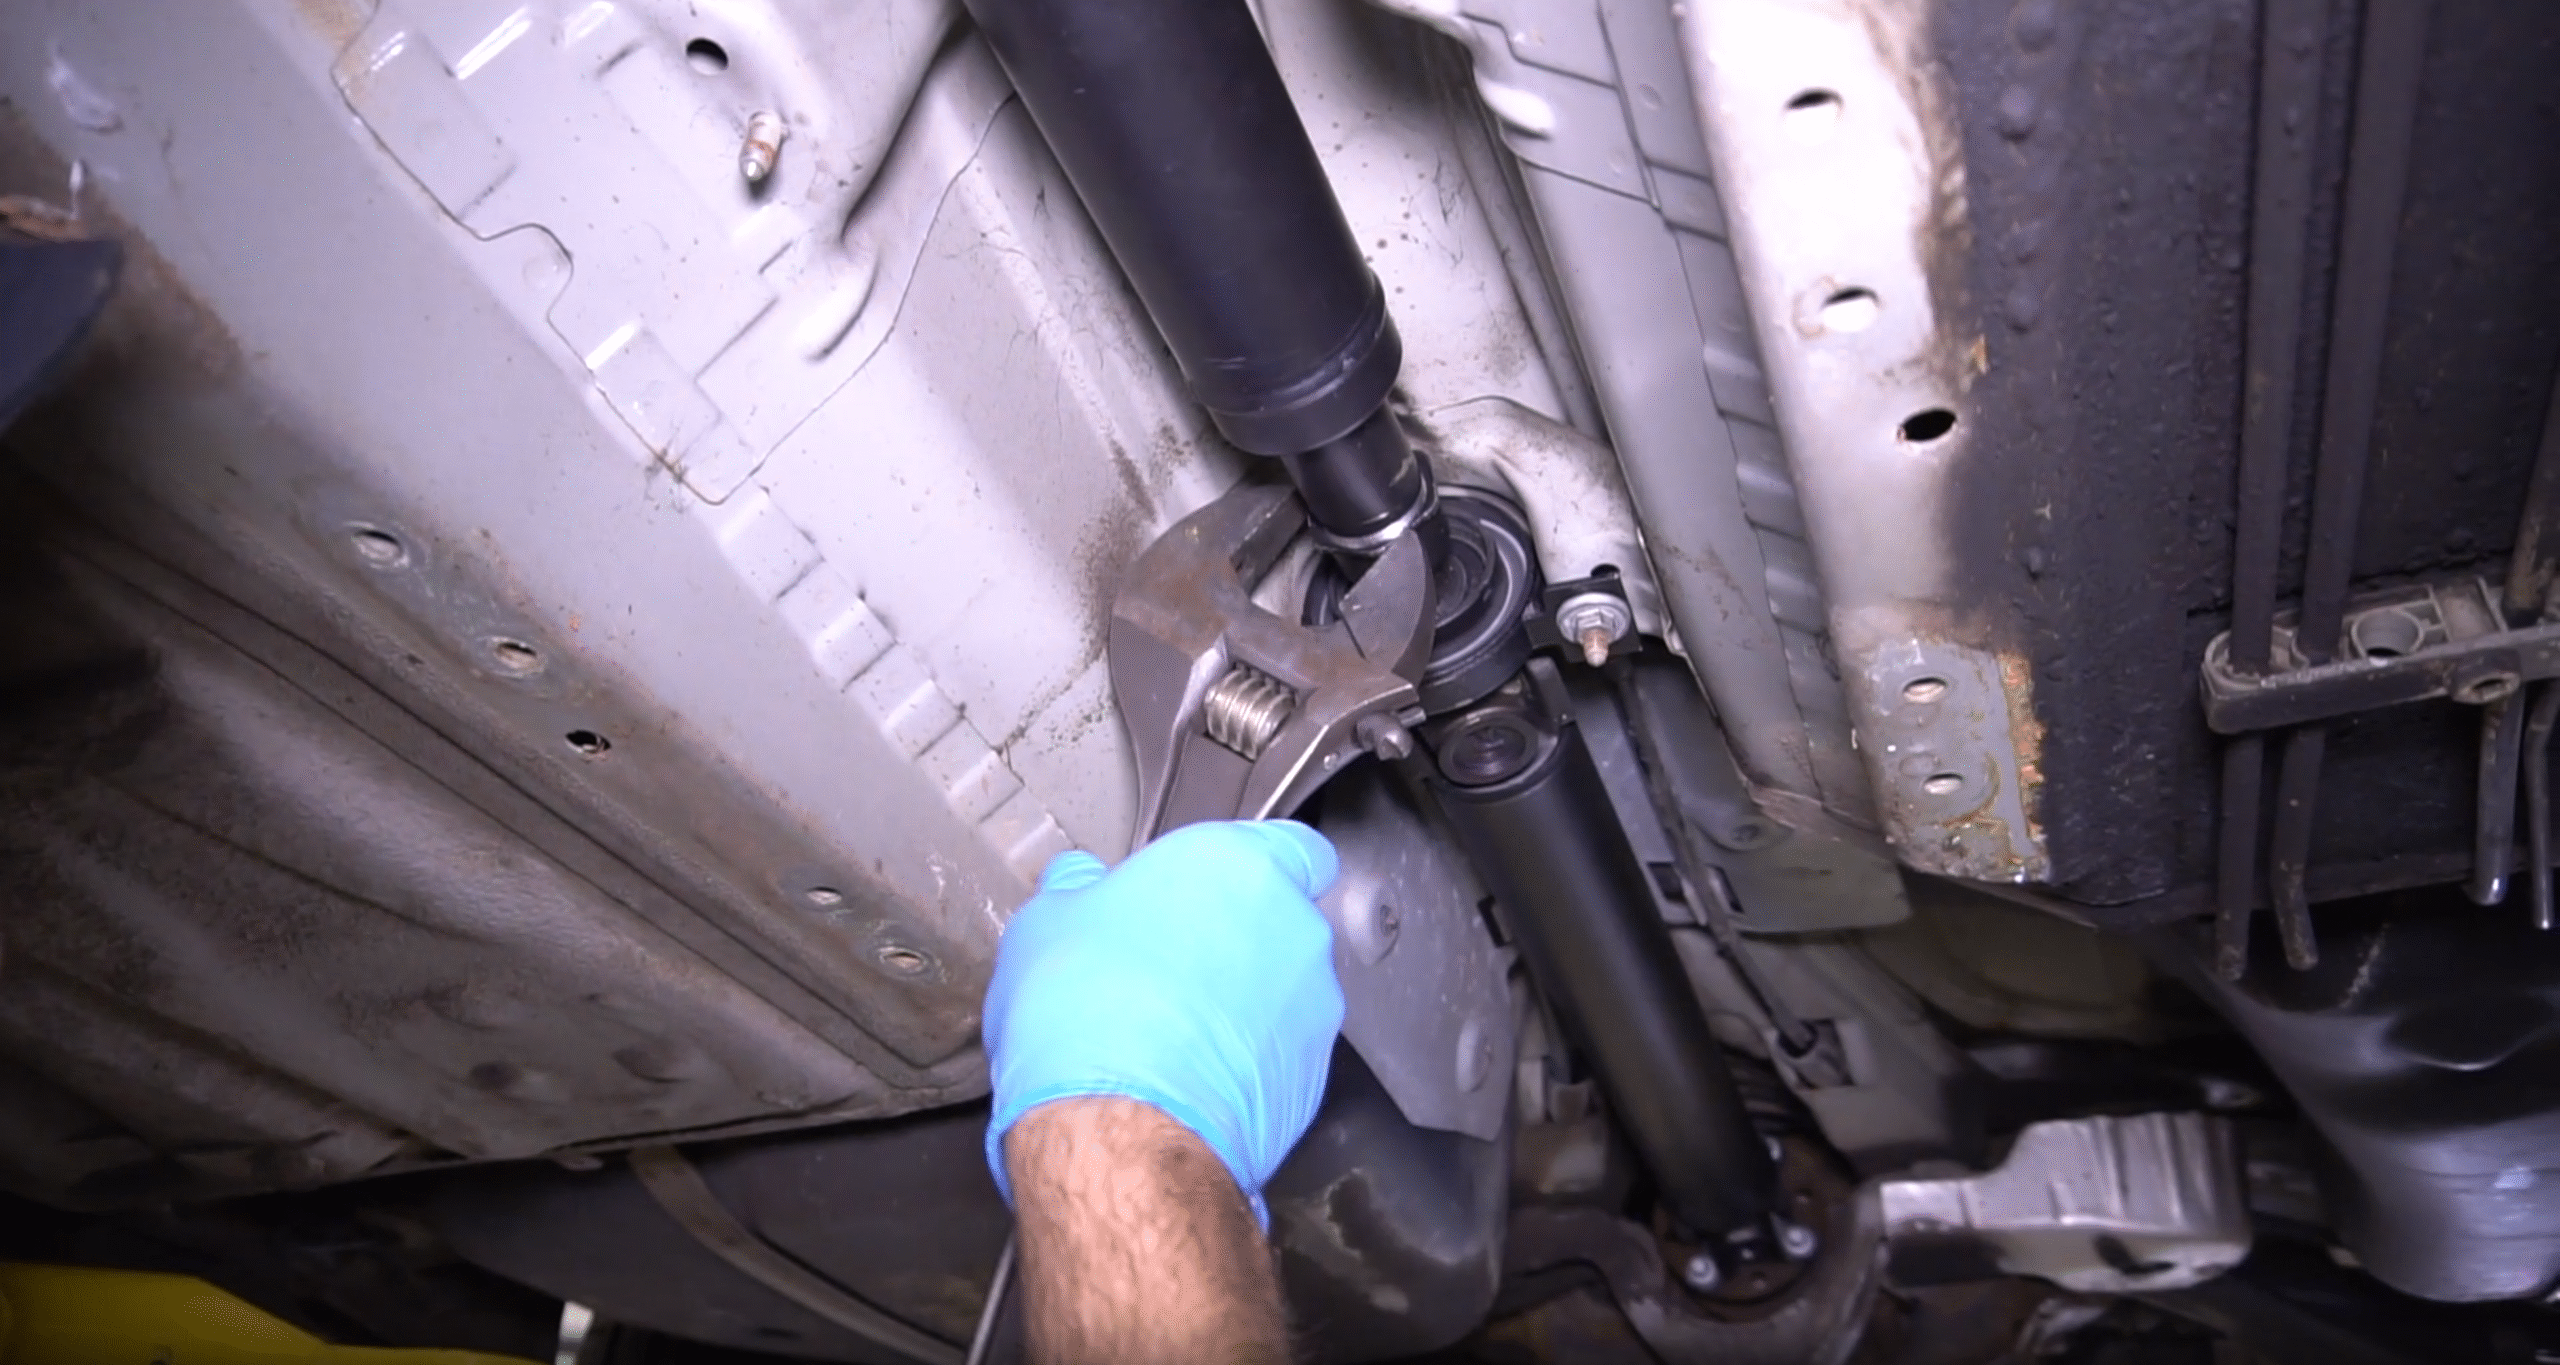
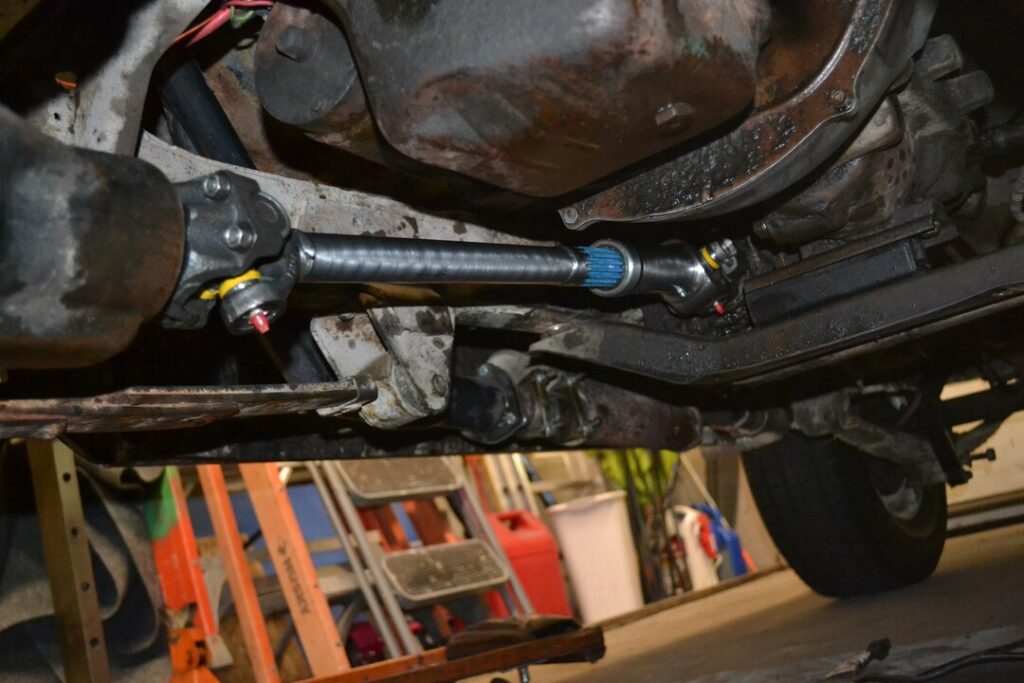
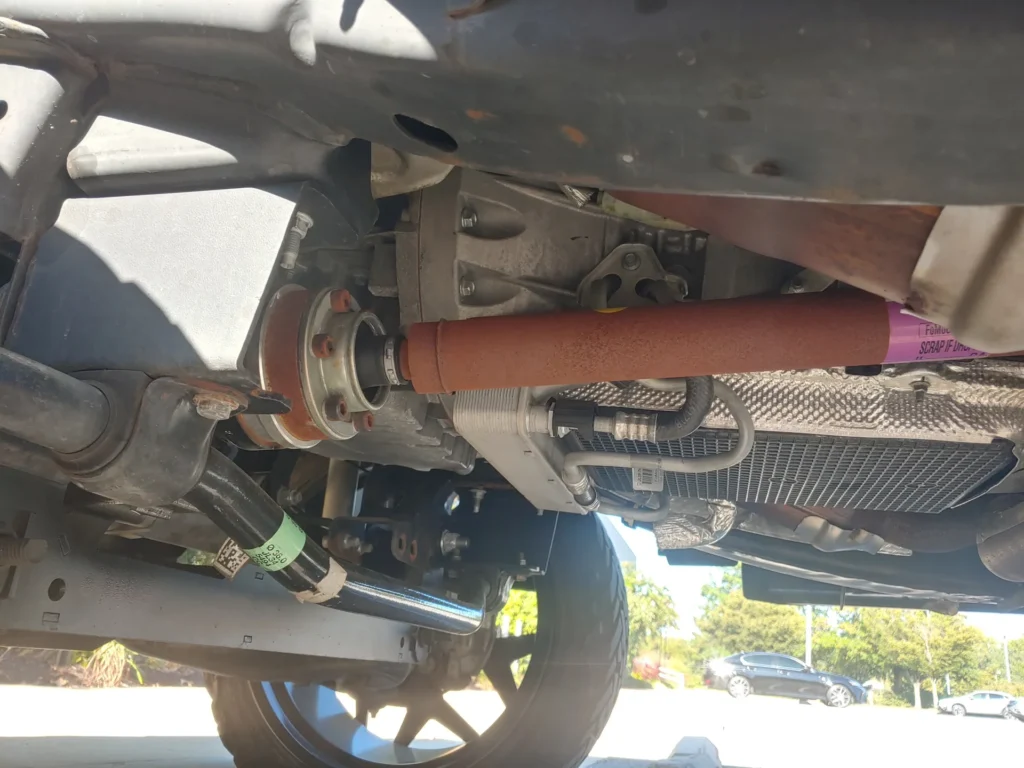
Now it’s time to get under the car and start observing. Use your flashlight and give the entire length of the drive shaft a good look, from the transmission end to the differential or wheels.
What should catch your eye:
- Rust or corrosion: Some surface rust is common, but deep rust or pitting weakens the metal.
- Cracks or dents: If the shaft looks bent or damaged, don’t ignore it—it’s a sign the car may have hit something.
- Leaking grease: This is especially important at the joints. U-joints and CV joints are sealed, so any grease on the outside usually means a failed seal.
- Torn CV boots: A cracked or split rubber boot will eventually dry out the joint. It’s a small problem that turns big if ignored.
- Loose or missing bolts: Check the flanges where the shaft connects. If you can see daylight through bolt holes, that’s a problem.
Most issues leave visible signs before they fail. So take your time—this step often tells you more than any tool will.st clue something’s wrong.
Step 3: Test for Play and Movement
Now you’re checking by feel. Grab the shaft—one hand near the front, one near the back.
Gently twist the shaft back and forth. You’re not trying to spin it like a wheel; you’re feeling for slack. If it moves too much before the wheels react, there’s a problem.
Next, push it side to side and up and down.
- A tiny bit of movement is okay—shafts need a bit of play.
- But if it feels loose, wobbly, or you hear a soft “click,” that could mean a worn-out U-joint or CV joint.
Don’t forget to check both ends of the shaft. And don’t just rely on feel—listen while you move it. A light “clunk” or metallic sound when moving it often points to internal joint wear.
Step 4: Rotate and Observe
With the wheels off the ground, slowly spin the drive shaft by hand.
Watch it closely while it rotates:
- Is the shaft spinning smoothly without wobbling?
- Does the centerline stay steady, or does it move up and down slightly?
- Are any parts (like the center bearing or carrier support) shifting?
This step helps spot problems like imbalance, bends, or worn support bearings.
If you have access to a dial gauge or runout tool, you can take it further. But even without tools, your eyes and hands will catch a surprising amount—if you take your time.
A shaft that spins unevenly will vibrate at speed, and that vibration can transfer to the steering wheel, floor, or even the seat.
Step 5: Advanced Checks (for Pros)
Once everything checks out underneath, it’s time to drive—if the car is safe to take on the road.
What to pay attention to:
- Vibration between 40 and 80 km/h: This often means the shaft is out of balance or the joints are binding.
- Clunking when shifting: U-joints or mounts may be loose or worn.
- Clicking when turning: Especially in front-wheel-drive cars, this often means CV joint trouble.
- Shuddering when taking off: This can indicate misalignment or angle problems.
Try different speeds and light steering changes. Keep the windows down so you can hear clearly.
If the car feels rough, noisy, or unstable, you likely have a drive shaft issue, and now you’ve done the steps to prove it.
Safety Tips for Drive Shaft Inspection

Drive shaft work often happens underneath the vehicle, so safety is non-negotiable. Here are essential tips every professional should follow:
- Never rely on a jack alone—always use stands or a lift
- Disconnect the ignition if the wheels might spin
- Wear gloves to avoid injury from sharp metal edges
- Keep loose tools away from moving parts
- Don’t rotate the shaft by hand if someone is inside the car
- Check for fluid leaks around the shaft—these might indicate issues beyond the shaft itself
Remember, a failing drive shaft doesn’t just cause noise—it can break at high speed, leading to drivetrain failure or even accidents. Taking safety seriously isn’t just for you—it’s for your team and your customer.
If you sell or repair drive shafts, knowing how to check them is a key part of your job. The better you are at spotting the problem, the more your customers will trust you. This isn’t just about fixing a part. It’s about understanding how the car behaves, what your customer is feeling, and connecting the dots.
If you are looking for a reliable drive shaft manufacturer, you can consult with the supplier in China who can give you the best prices and high-quality products.


