When customers bring in cars with uneven braking or dragging wheels, the issue often points to the brake calipers. Knowing how to replace brake calipers properly not only enhances your reputation as a professional but also ensures that your customers leave with safe, reliable vehicles. Let’s go through the essentials before you pick up your wrench.
To replace brake calipers, safely lift the vehicle, remove the wheel, unbolt the old caliper, install the new one, reconnect the brake line, and bleed the brake system to remove air. After completing the replacement, check for oil leaks and then test drive the vehicle.
Before you start, preparation and attention to safety are everything. Here’s what you should do before replacing a brake caliper, what tools you’ll need, and the steps to follow for a professional-level result.
Preparation and Safety Precautions

Changing a brake caliper isn’t just about taking one off and putting another on — it’s about doing it safely. Before you begin, ensure your tools and work area are ready.
- Park on level ground and pull the handbrake tight so the car doesn’t move.
- Use a jack and jack stands. Never trust the jack alone to hold the car up.
- Put on gloves and safety glasses. Brake fluid can sting your skin and eyes.
- Check the fluid and hoses. If the fluid looks dirty or the hoses are old and cracked, change them first.
- Let the brakes cool down. Hot parts can burn you or damage rubber seals.
Taking a few minutes to prepare keeps you safe and makes the whole job go more smoothly.
A quick inspection of the master cylinder, pads, and rotors also helps spot other issues early, saving you time later.
You don’t need a full workshop, but the right tools make the process smoother and safer.
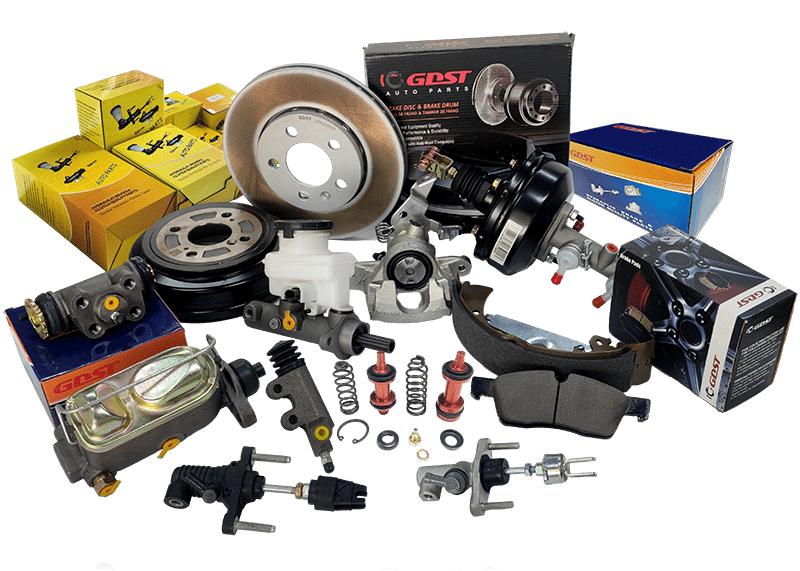
Tools You’ll Need: Socket wrench, torque wrench, line wrench, C-clamp or caliper compressor, jack and jack stands, brake fluid (DOT 3 or DOT 4), brake cleaner, drip pan, and clear tubing for bleeding air.
Step-by-Step: How to Replace Brake Calipers
Let’s complete this process through six key steps.
Step 1: Prepare the Vehicle
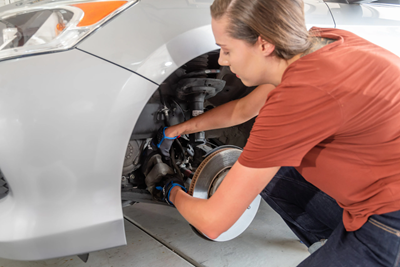
Before lifting the vehicle, slightly loosen the wheel nuts. After jacking up the vehicle, secure it with jack stands. Remove the wheel to expose the caliper. This gives you full access to the braking system and helps you work safely without pressure on the wheel assembly.
Step 2: Remove the Old Caliper
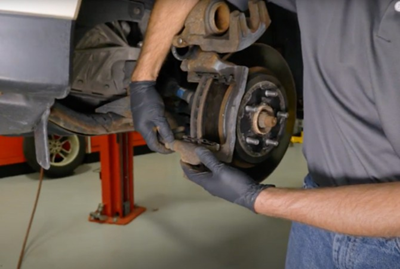
Look behind the rotor and you’ll spot the caliper bolts. Use a socket wrench to loosen them slowly and evenly, keeping your hand steady to avoid stripping the heads. Once the bolts are off, gently slide the caliper away from the rotor. Support it with a wire or hook — never let it hang from the brake hose, as that can cause cracks or leaks.
Step 3: Disconnect the Brake Line
Put something underneath to catch the brake fluid — it’ll leak a little once you start. Then, with a line wrench, gently loosen the hose connection. A smooth, steady turn works better than trying to force it loose. Some brake fluid will leak out — that’s normal. Quickly cap or plug the line to prevent air from entering the system. Wipe off any spills immediately to avoid paint damage.
Step 4: Prepare and Install the New Caliper
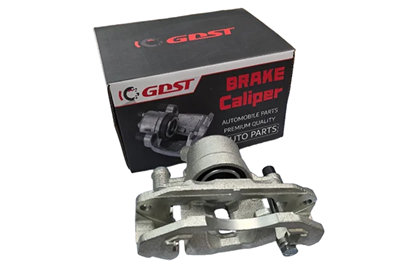
Before you put the new caliper on, hold it next to the old one to make sure it’s the same size and shape. Give the bracket and the area where it sits a quick clean with some brake cleaner so there’s no dirt or rust. Then slide the new caliper into place and start the bolts by hand. When everything lines up right, tighten the bolts evenly — firm is enough, you don’t need to crank down hard.
Step 5: Reconnect and Bleed the Brakes
Reconnect the brake line to the new caliper and make sure the connection is tight. Then bleed the brakes to remove trapped air. Use clear tubing and start bleeding from the caliper farthest from the master cylinder. Keep refilling the reservoir with clean brake fluid to prevent air from re-entering.
Step 6: Reassemble and Test
Reinstall the wheel, hand-tighten the lug nuts, and lower the car back down. Torque the lug nuts evenly in a crisscross pattern. Pump the brake pedal a few times to build up pressure, then take a short, careful test drive. Check that the brakes engage smoothly and that there are no leaks or strange noises.
Pro Tip: If you’re doing how to replace brake calipers at home, always double-check the fluid level and brake pedal feel before driving. A firm pedal means the system is properly bled.
Common Mistakes and How to Avoid Them
Even people who fix cars every day can slip up sometimes. Here are a few mistakes you should try to avoid:
- Not getting all the air out. If there’s air in the brake line, the pedal feels soft and the brakes won’t grab well. Keep bleeding until the fluid runs clean and smooth.
- Tightening bolts too hard. You just need them snug — if you force it, the bolt or bracket can crack.
- Using old brake fluid. Once it gets dirty or absorbs water, it doesn’t work right. Fresh fluid always makes a difference.
- Forgetting to check everything. Look over the hoses, fittings, and seals before finishing. One small leak can cause big trouble later.
- Skipping the test drive. Always try the brakes slowly in a safe spot to make sure they feel right before handing the car back.
Taking a few extra minutes for these checks shows real care and helps you build trust with your customers.
Estimated Replacement Cost
The cost of replacing a brake caliper depends on the car model, brand, and whether the job is done professionally or at home.
On average, you can expect:
- Parts: Around $70–$200 per caliper
- Labor: Typically $80–$200 per wheel
- Total estimated cost: Between $150 and $400 per wheel
If you perform the replacement yourself, you’ll save on labor costs. However, you’ll need proper tools and must take time to bleed and test the system carefully.
Also, take a quick look at the brake pads and rotors. If they’re thin, uneven, or scratched up, it’s smarter to change them along with the calipers. It might cost a little more now, but it saves trouble later and makes the car stop more smoothly.
Summary
Replacing brake calipers isn’t difficult once you understand the process. With the right tools, a bit of patience, and attention to detail, you can do it safely and efficiently. For professionals, mastering how to replace brake calipers means better service, fewer returns, and happier customers.
A solid replacement job ensures every driver leaves with a car that stops smoothly and safely — and that’s the best advertisement for your business.